 Final work.
STEPS
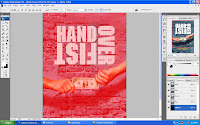 First I created a new layer on the channel.Then, I use the Line tool to create a straight line on the fonts.
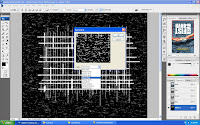 I use mezzotint from the pixelate to make the line looks more real.
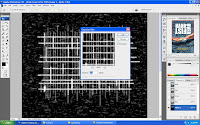 Add a little of gaussian blur on it as well.
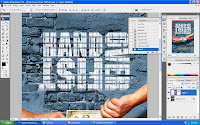 I go back to layer and create new layer , add vector mask and I press ctrl + shift + backspace to do the invert on the font that I did earlier in the channel tab. This is exactly what I learned from the video tutorial and it is really helpfull and fun.
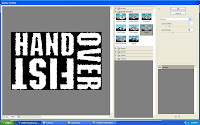 Then I go to edit menu and choose stroke to change the fonts style to make it look more clean than before and the width I put 10 px .
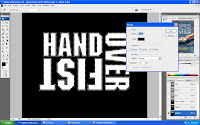 After I done with the stroke, I press B to go for brush tool and go to the filter menu and head to brush stroke and choose spatter.I just play around with the spray radius and the smoothness to get the best look of it.
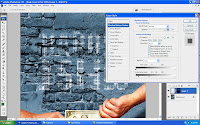 Lastly,I go to the layer that I created not to long ago and double click on it will appear the layer style.On the blending option, I change the setting on the underlying layer so that it will look real.

1 comment:
wow, dah advanced in photoshop ye!
heheh how you doing man?
Post a Comment