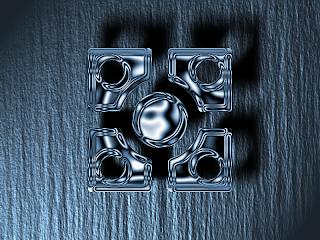
 Final works....Cheers!
Progress
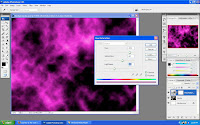 1. First create a new layer and apply render difference clouds onto the background and then create a new layer mask and apply hue/saturation.
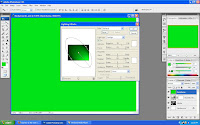 2. Create a new layer and choose color as a background and go to render lighting effects.
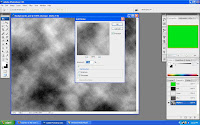 3. Go the the channel tab,click on the Alpha 1 and apply clouds and add noise to it.
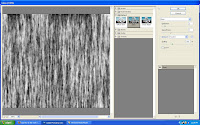 4. Go to filter menu and choose distort and click on glass.
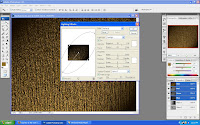 5.Then, it will automatically create it on new layer Alpha 2.Go back click to RGB and click again the render lighting effects and this time at the bottom of the option there is mode called tecture channel and apply it to Alpha 2.
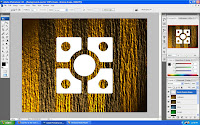 6. The important part is, there is a logo on the path and I choosed this logo and back to layer option and create a new layer to it.
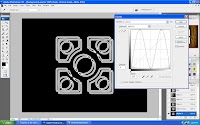 7. Press ctrl + M do the M shape at the graph balance it follow the line provided to it.
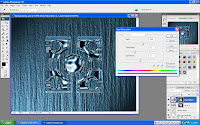 8. Lastly, bring back the chrome background that I created not to long ago and change the color on the logo as well by using hue/saturation to colorize it so that it look the same color.

3 comments:
Please check http://www.courseonline2u.com/
You did not do the right image. The correct image is '70's'.
Please upload the right one.
Mdm,it has 2 type of logo given in the path section. I thought can use either 1? because in the end it still apply the same technics only the different logo.
Post a Comment