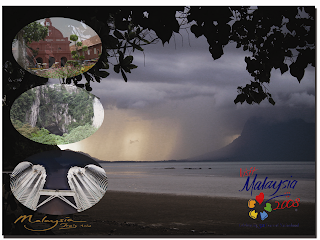
Class on Tuesday 6/09/10
14 years ago
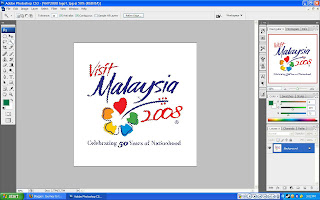 First step, I use the magic wand tool to select the "Visit Malaysia" logo and remove it away from the white background.
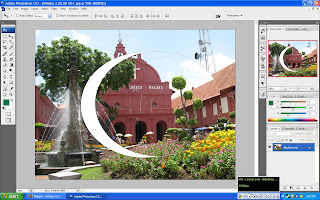 Second step, This is one of three pictures I use the elliptical marquee tools to select the area of the picture I want and make it look more round shape. I did the same thing to Mulu cave and Petronas twin towers picture.
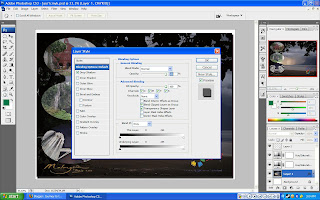 The background I leave it white in color and the first picture or the first layer, I add a shadow effect onto in.
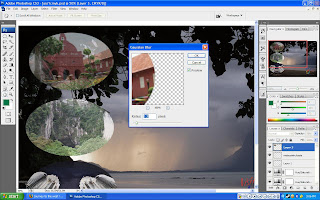 Next, after I use marquee tools to select an area I wanted,so I put those picture to the left side of the picture.All three picture are applied using gausian blur filter and decrease the opacity around 70% so that It doesn't look much copy and paste.
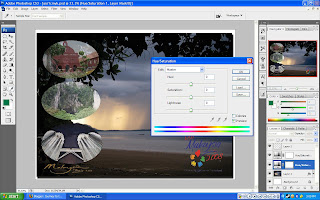 Fourthly, I add hue and saturation on the beach picture and playing around the lightness effect to it so the picture look more real and slightly different from the original picture
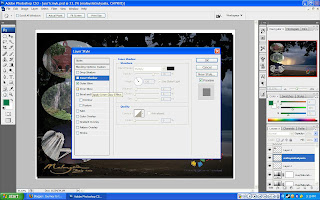 Lastly, I add the outer glow shadow layer style on the "Malaysian truly asia" logo picture to make it look cool.
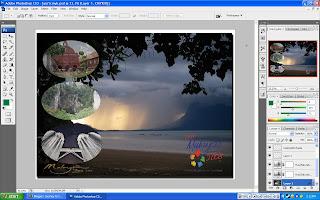 Final work.It looks too simple but I think its ok though.
 This is the original image that been given to me.
 Well, I create a new layer and use the paint brush and also change to hue and saturation to paint the bottom object where the kid stand on it.
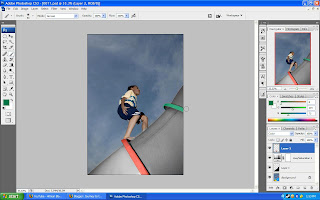 I playing around with the reds,yellows,greens,blues,cyans and magentas to create the better look for the boy's skins and also the clouds above him.
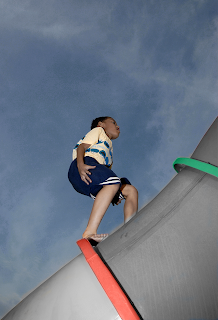 Final
Final